
How to teach a child to hold a pencil: 6 simple steps
Many parents assume a child will pick up writing on their own once school starts. In practice, the way a child holds a pencil is set well before school — and once an awkward grip becomes habit, it is hard to undo.
The good news is that none of this needs special classes or expensive equipment. Ten minutes a day, practised in the right order, is enough. This guide is that order.
On this page
1. When to start
What your child can already do matters more than their age. Roughly:
- 18 months to 2 years: Holds a crayon in a fist and scribbles. That is exactly right — it is where everyone begins.
- 2 to 3 years: Starts making straight lines and round shapes. This is the point to offer thick crayons.
- 3 to 4 years: Begins using the fingers more. This is the best window for improving grip.
- 4 to 6 years: Traces letters and numbers. The grip is close to settled by now.
If your three year old still grips the pencil with a whole fist, do not worry. That is completely normal. Simply start paying attention to it now.
2. What a correct grip looks like
The grip to aim for is called the tripod grip:
- The pencil is held between the thumb and index finger
- The middle finger supports it from underneath
- The remaining two fingers are curled in towards the palm
- The grip sits about 2–3 cm above the tip
- The wrist rests on the table rather than floating in the air
The easiest test: tuck a small eraser or a ball of paper under your child's last two fingers while they hold the pencil. Those fingers are now occupied, and the grip becomes a tripod on its own.
3. The six steps
Step 1: Build finger strength first
Fingers need to be strong before a pencil is any use. These work best:
- Kneading dough or clay and rolling it into small balls
- Picking up cotton or paper with a clothes peg
- Watering a plant with a spray bottle
- Tearing paper into small pieces
These look like play, but they are the real groundwork. For a two or three year old, this matters more than the pencil does.
Step 2: Give a short crayon, not a long one
This is the simplest and most effective trick there is. Snap a full-length crayon in half. A short crayon cannot be held in a fist, so your child is obliged to use their fingers. No correcting required — the grip fixes itself.
Step 3: Let them draw on a vertical surface
Tape the paper to a wall, the fridge, or an easel. When a child stands and draws upwards, the wrist settles into the right position by itself. It is a small change that makes a surprising difference.
Step 4: Start with lines, not letters
This is the mistake almost every parent makes — going straight to writing "A". The right order is:
- Vertical lines (top to bottom)
- Horizontal lines (left to right)
- Diagonal lines
- Curves and "C" shapes
- Zig-zags and waves
- Now letters (see how to teach alphabets for the best letter order)
Every letter is built from those shapes. A child who cannot yet draw a curve will not manage an "O" either, however many times you ask. Our guide to worksheets for each age shows which tracing sheets to use when.
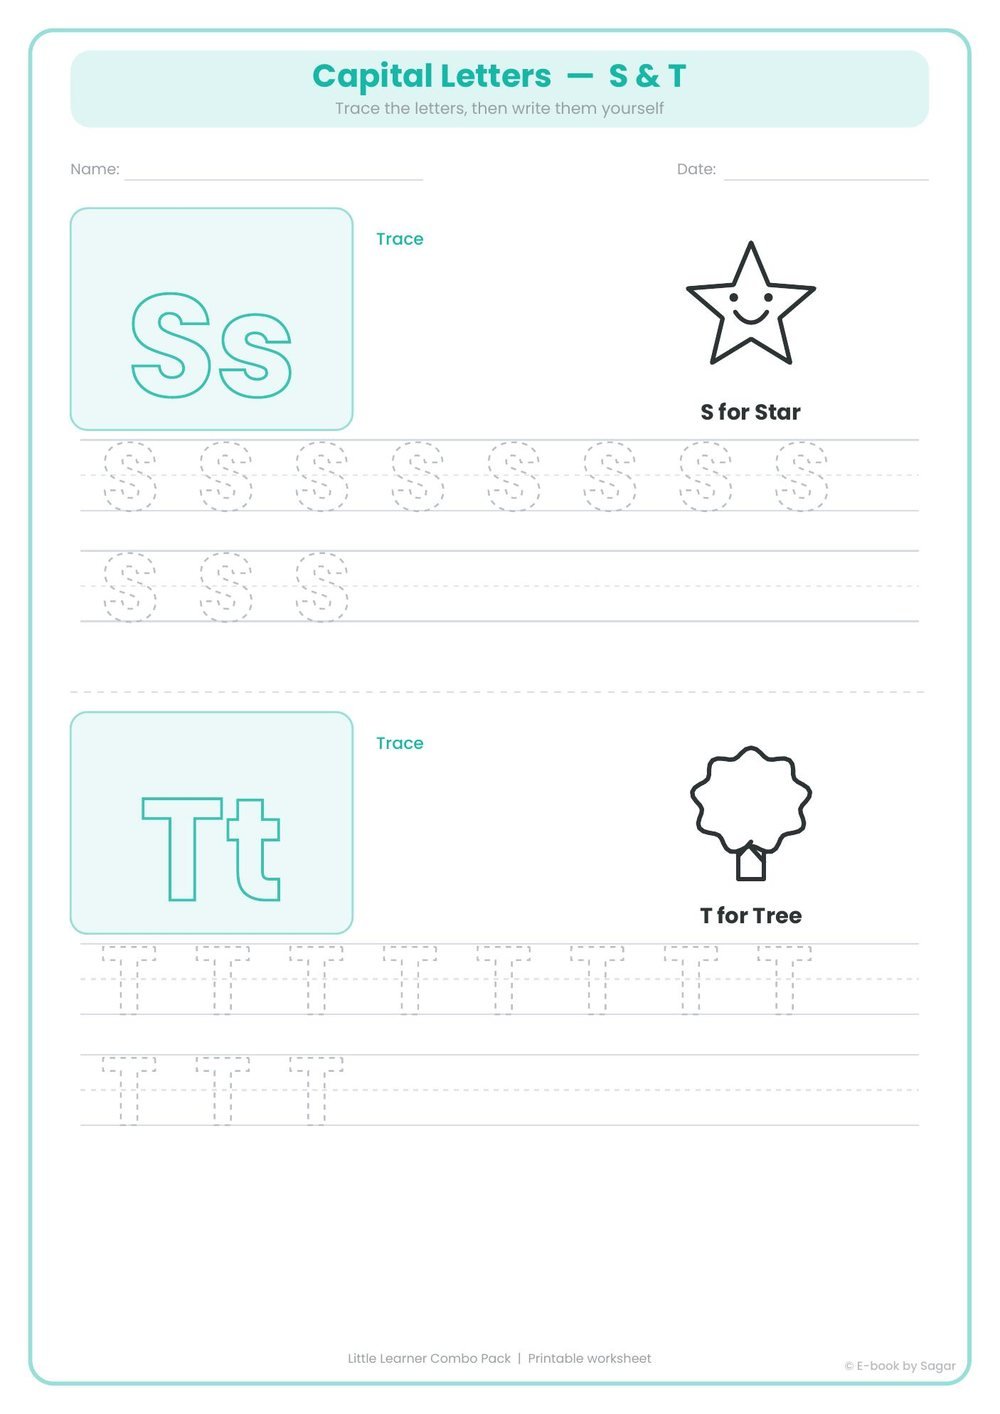
Step 5: Ten minutes a day, no more
A young child's attention does not hold much past 10 to 15 minutes. Half an hour of practice buys you an argument and a child who resents the pencil. A little, but every day — that beats one long session a week many times over.
Step 6: Praise the work, not the child
Instead of "you're so clever", try "you kept that line right on top of the dots today". It teaches your child that effort is what pays off, so they do not back away from things that feel hard.
4. Four common mistakes
- Correcting constantly. "Not like that, hold it like this" — ten times a day. It only pushes a child away from the pencil altogether. Show them once, then leave it.
- Giving a thin, sharp pencil. Early on, a thick crayon or jumbo pencil is far better. The control a thin pencil needs simply is not there yet.
- Switching their hand. If your child writes with the left hand, do not try to change it. It makes the handwriting worse, not better.
- Starting too early. Asking a two year old to write letters achieves nothing. At that age, scribbling is the learning.
5. If your child refuses
Children drop whatever feels too hard, which usually means the task is above their level. When that happens:
- Step back one level — from letters to lines
- Put the pencil away and do only clay or peg games for a fortnight
- Turn the sheet into a game — "let's see if this line reaches the house"
- Sit alongside and do your own sheet. Children copy, they do not follow instructions
Ready-made practice sheets, in the right order
The Little Learner Combo Pack has 150 printable worksheets for ages 2 to 6 — pre-writing strokes, alphabet and number tracing, colouring, early maths, flashcards and charts. Download once, print as often as you like.
See the worksheets pack — ₹49